Learning how to install vinyl flooring in Hilo is about 20 percent planking and 80 percent moisture control. Average rainfall inside the city of Hilo runs from roughly 130 inches a year near the shore to as much as 200 inches upslope , and that moisture decides whether your seams stay tight or open up by next wet season. Here is the exact install order we use on Big Island homes, with the local steps most mainland guides skip.
The Install in 8 Steps
- Test subfloor moisture and check flatness.
- Remove baseboards, thresholds, and any loose old flooring.
- Patch lows, grind highs, let the compound cure.
- Acclimate the planks and dry-lay your layout.
- Set 1/4 inch spacers and lay the first row.
- Stagger seams and work across the room.
- Undercut jambs, set transitions.
- Reinstall trim, then clean and inspect.
Budget one full day for prep on an average bedroom, and roughly half a day for the planking itself.
Tools and Materials You Need
Gather everything before you open a carton:
- Tape measure, pencil, chalk line
- Utility knife with spare blades and a metal straightedge
- Rubber mallet, tapping block, pull bar
- 1/4 inch spacers, a full bag and not a handful
- 10 foot level or straightedge
- Pry bar and oscillating multi-tool
- Jigsaw for curves and register cutouts
- Pin or pinless moisture meter
- Trowel and 75 to 100 pound floor roller, glue-down only
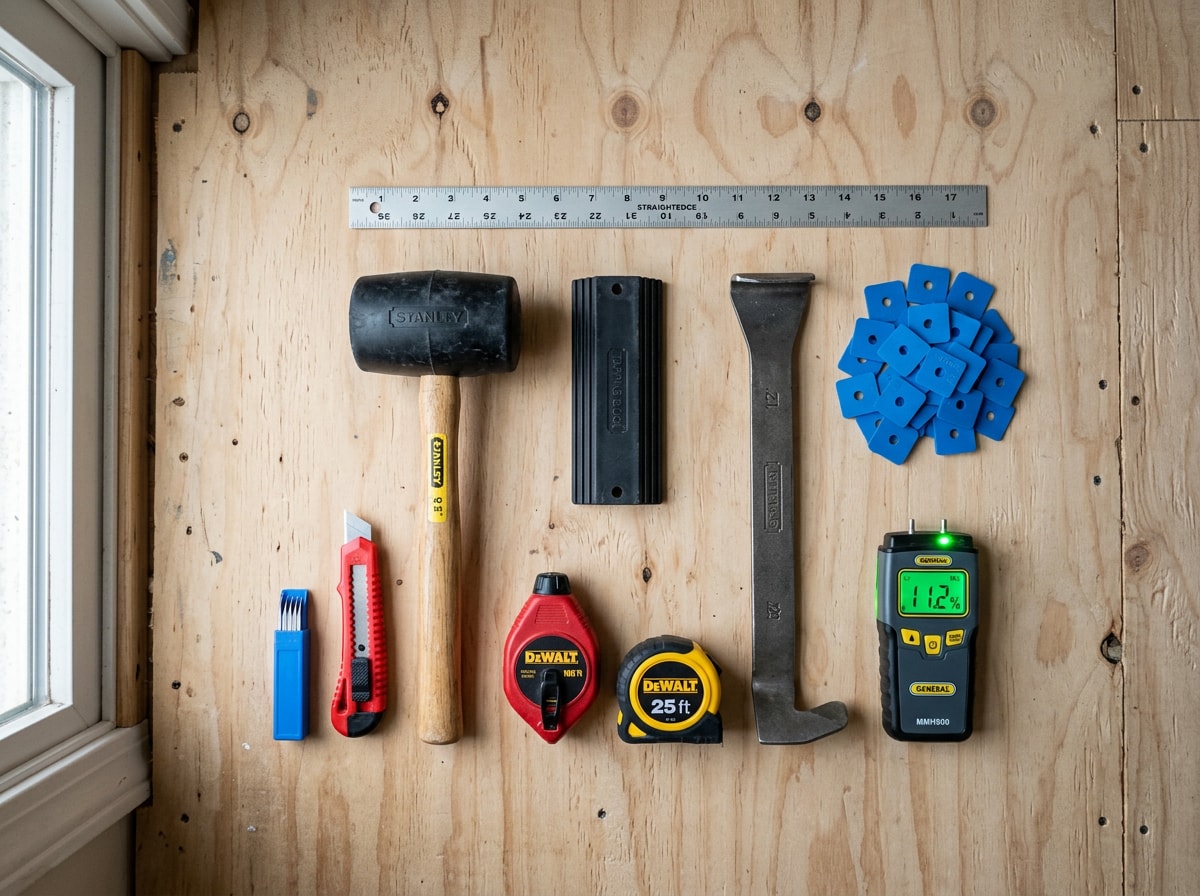
Score and snap is your main cutting method. Run the knife along the straightedge, then bend the plank until it breaks clean. Save the jigsaw for jamb notches and curves. Never drive a plank home with a hammer or your heel. That is what the tapping block and pull bar are for.
Step 1: Prep the Subfloor and Read the Moisture
Clear the room. Score the caulk line, pry off baseboards, and label each piece on the back so it returns to the same wall. Pull thresholds, sweep, vacuum, then drag a long straightedge across the floor in several directions.
Working flatness tolerance is roughly 3/16 inch of variation over a 10 foot span. Flat and level are different things. A floor that slopes slightly is usually fine. A wavy one is not.
Fill lows with patch or self-leveling compound, grind the highs, and respect the cure time on the bag.
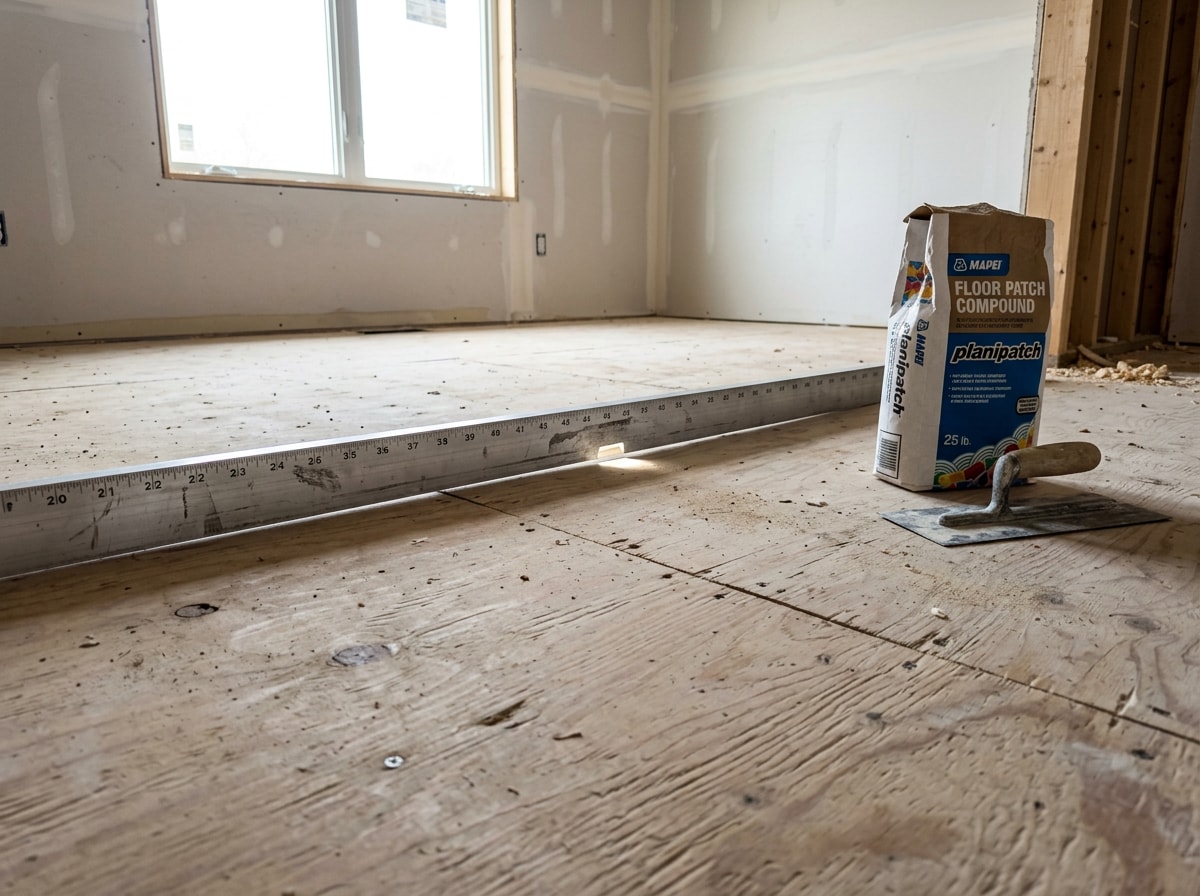
You can install vinyl over concrete, plywood, ceramic tile, or one layer of existing vinyl, as long as it is sound, flat, and fully bonded. Loose or damaged material comes out.
The Hilo conditions checklist:
- Concrete slab on grade: take a moisture meter reading and plan on a 6 mil moisture barrier unless the plank has one attached. If the slab is spalled or badly out of flat, a concrete overlay is cheaper than chasing it with patch.
- Raised post and pier: check crawlspace ventilation, then read plywood moisture content from below. On Hilo post and pier homes we routinely get higher readings off the underside than off the top face, because the top has been drying in a conditioned room while the bottom sits in saturated air.
- Over existing tile: fill grout lines deeper than 1/8 inch with embossing leveler so seams do not telegraph. Cracked or drummy tile should be repaired or replaced first.
Safety note: never sand, grind, or dry-scrape old resilient flooring in a pre-1980s home. It may contain asbestos. EPA guidance is that removal is complex and must be done only by a trained and accredited asbestos professional, because improper removal can actually increase your exposure to fibers. Start with EPA's homeowner asbestos guidance before you touch it.
Step 2: Acclimate and Plan the Layout
Here is the part Hilo changes. Most acclimation instructions assume a room that swings 30 degrees between seasons. Hilo does not. July and August average highs and lows of 83 and 68, while January and February average highs of 80 and lows of 63.
So temperature is not your variable. Humidity is. Your planks are not waiting to warm up, they are waiting for the air in the room to stop being wetter than the air in the warehouse.
Leave cartons unwrapped and flat in the installation room for 24 to 48 hours, with the room closed up and running the way it normally runs. Some rigid core products state no acclimation is needed, and the manufacturer's written instructions always win over any blog, including this one.
Then do the layout math:
- Multiply length by width for square footage, then add about 10 percent for cuts, waste, and future repairs.
- Divide the room width by the plank width to see where the border row lands.
- If that final row comes in under half a plank, say under 3 inches on a 6 inch plank, rip the first row narrower and split the difference between both walls.
Two medium borders look intentional. One sliver does not.
Run planks parallel to the longest wall or toward the main light source. Pull planks from three or more cartons and shuffle them so pattern repeats and shade variation disperse across the room.
Step 3: Lay the First Row
Start in the left hand corner with the groove edge facing away from the wall and the cut edge against it. Trim the short tongue off the very first plank so it sits flush.
Set 1/4 inch spacers along both walls. That gap matters because a floating floor is one large sheet that grows and shrinks with humidity.
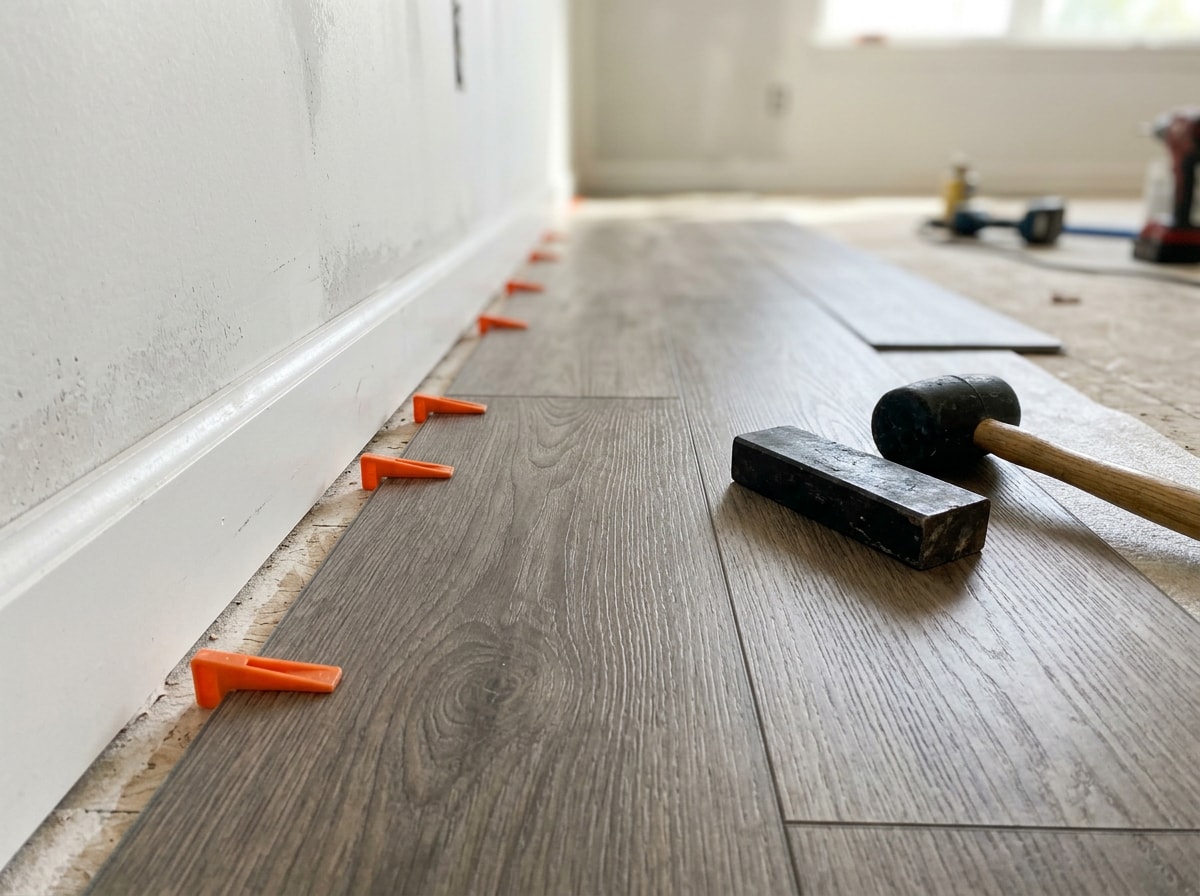
For click-lock, angle the plank into the groove and drop it flat, then square the joint with a tapping block and mallet. Planks are only fully locked when they sit dead flat.
For glue-down, trowel adhesive, let it flash to tacky, work off chalk lines, and roll the field within the adhesive's working time.
Vinyl moves more than wood does for the same change in conditions. A long uninterrupted run in a humid room can move enough to tent or pop locking joints if it is pinched. Check the manufacturer's maximum run length and plan a T-molding before you start, not after the floor buckles.
Step 4: Work Across the Room
Offset end seams by at least 6 to 8 inches row to row. Never start or end a row with a plank shorter than about 8 inches.
Cutting the first plank of row two to roughly two thirds length sets a clean stagger you can repeat.
Lock the long edge first, then slide the plank sideways to close the short seam. Use the tapping block along the long edge. At walls where the block will not fit, hook the pull bar over the plank end and tap it home.
Keep spacers in place the entire time.
Every few rows, step back and sight down the run. It should stay straight and parallel to your starting line with no gaps creeping open. Catching drift at row four is easy. Catching it at row twenty is not.
Step 5: Jambs, Trim, and Transitions
Undercut doorjambs instead of cutting planks around them. Lay a scrap plank on the subfloor as a height gauge, rest the oscillating multi-tool blade flat on the scrap, and cut. The flooring then slides underneath for a clean look.
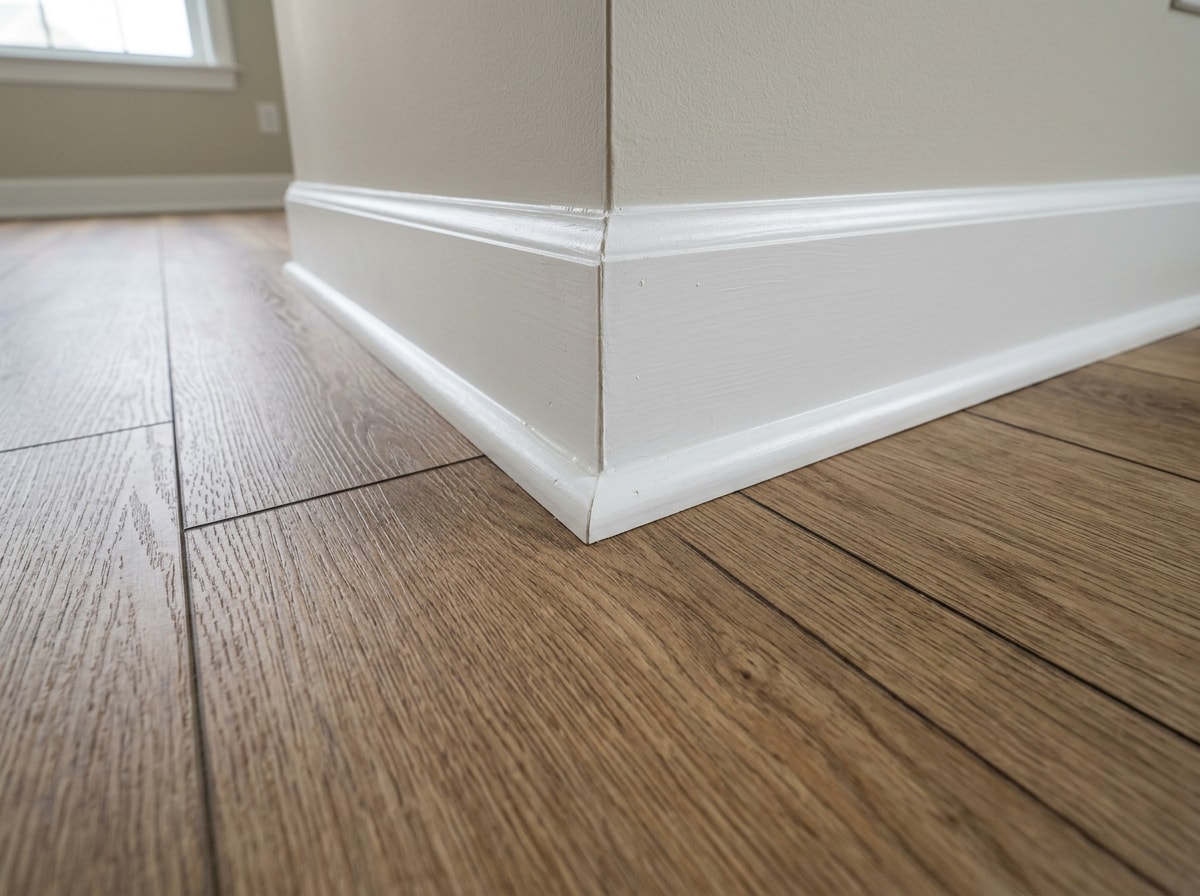
Reinstall your labeled baseboards, or add shoe molding or quarter round to cover the expansion gap. Nail into the wall or the base trim only. Never nail into the floor, which pins the floating field and causes buckling.
Use T-molding between equal height floors and a reducer where heights differ. Many transition tracks must go down before the field flooring reaches them, so dry fit early.
Vacuum, damp mop, and store leftover planks flat.
Which Format Should You Buy?
The format decides your tools, your prep, and how the planks bond. Pick it first, then plan the job around it.
| Format | Typical material cost per sq ft | How it bonds | DIY difficulty |
|---|---|---|---|
| Click-lock rigid core (SPC or WPC) | $3 to $7 | Plank to plank, floats free | Easiest, mistakes can be unclicked |
| Glue-down LVP | $2 to $6 plus adhesive | Bonded to subfloor | Moderate, no second chances once it grabs |
| Peel-and-stick or GripStrip | $1.50 to $4 | Adhesive strip or full-back adhesive | Easy to lay, least forgiving of bad prep |
Ranges reflect common retail material pricing and exclude Hawaii freight, underlayment, and labor. Confirm current numbers with a local supplier before you budget.
Click-lock is the most forgiving format for a first timer and the one most likely to carry a true waterproof rating rather than water resistant. Rigid core versions run thick enough to hide minor subfloor imperfection, which helps on older Big Island homes. If you are weighing cores, our guide to SPC flooring breaks down the difference.
Glue-down earns its keep in large open spans and high traffic rooms, where a floating floor has more room to shift underfoot. Pressure sensitive adhesive stays tacky, which means a damaged plank can be lifted and swapped without disturbing the field around it.
Peel-and-stick and GripStrip are typically water resistant rather than fully waterproof. For bathrooms, laundry rooms, and lanai adjacent entries, check the spec sheet. The Resilient Floor Covering Institute defines the wear layer as the material applied to the top surface of vinyl flooring, with a thickness that varies by product collection and is generally measured in mils . Read RFCI's industry terminology rather than the box copy.
Common Mistakes to Avoid
- Rushing subfloor prep. Every dip and hump eventually shows as a lifted edge or a hollow clicking spot underfoot.
- Not staggering seams. Short offsets create weak seam lines that separate into visible gaps.
- Sloppy cuts. Ragged edges never close fully, and the gap collects grit.
- Forcing planks with a hammer or foot. This deforms the locking profile and the joint pops later.
- Skipping or blocking the expansion gap. Cabinets and heavy furniture pinning the field cause bubbling mid-room.
- Under-ordering. No overage means no repair planks, and dye lots change.
- Ignoring written instructions on acclimation and underlayment, which can void the warranty.
When to Hand It Off
A single bedroom with square walls is a reasonable weekend project. Call a pro when you have a slab with failing moisture readings, stairs, a large open plan span, or subfloor that needs structural repair.
Our team at Luxe Pacific handles flooring installation and repair across the Big Island, including the full Hilo service area. You can see finished work in our project gallery, or get a free estimate and we will read the moisture for you before you buy material.
FAQ
Can you install vinyl plank flooring yourself?
Yes, for a typical single room. Click-lock planks need minimal specialty tools and lock together easily once your layout is planned and materials are staged. Large open spans, stairs, complicated jamb work, or a subfloor needing structural repair are worth a professional installer.
What can you install vinyl plank flooring over?
Concrete, plywood or hardwood, ceramic and porcelain tile, and up to one layer of existing vinyl, as long as the surface is rigid, sound, clean, and flat. Deep grout lines and heavily textured old vinyl need embossing leveler first, or the texture telegraphs through.
Do you need underlayment for vinyl plank flooring?
Often no. Many rigid core planks ship with a pre-attached pad, and doubling up creates too much cushion, which stresses the locking joints. Separate underlayment makes sense for sound control, added comfort, or as a vapor barrier over concrete when the plank does not already include one.
Do you need a moisture barrier over a concrete slab in Hilo?
Plan on one unless the plank has an attached barrier and the manufacturer says otherwise. Slab on grade floors on the windward side can push vapor upward year round. Test the slab with a meter first and follow the flooring maker's stated moisture limit.
Which direction should vinyl plank flooring run?
Parallel to the longest wall, or toward the room's main light source. Both choices make seams less visible and reduce cutting. In narrow hallways, run planks down the length of the hall.
How long does it take to install vinyl plank flooring in one room?
For a 150 square foot bedroom, plan a full day for prep and demolition, then four to six hours for planking and trim. Self-leveling compound adds at least a day for cure time.
Do you have to remove the baseboards?
Not strictly, but it gives a better result. Removing them lets you hide the expansion gap behind the base instead of relying on shoe molding alone. Score the caulk line first and label each piece on the back.
Is vinyl flooring a good choice for Hilo's humidity?
It is one of the better choices. A waterproof rigid core will not swell like laminate or cup like solid hardwood. The failure point in a humid climate is almost always the prep, meaning trapped subfloor moisture or a pinched expansion gap, not the plank itself.
How much does vinyl plank flooring cost in Hilo?
Material commonly runs about $3 to $10 per square foot depending on wear layer thickness and core type. Big Island buyers should also budget for freight, which mainland price quotes rarely include. Verify current pricing with a local supplier, since these ranges shift.